
How to
Adding a Component to a Workspace
You add a component to a workspace to extend the content and usage of the workspace.
You need to log off from Building Operation for the changes to take effect.
The workspace defines the content and layout of WorkStation. The content and layout of the workspace can be adapted different tasks for user accounts or user account groups.
You can create different workspaces for different user categories and link them to user account groups. A user has access to all workspaces linked to the user account groups in which the user is a member. This way, users can easily switch workspaces during a work session. For example, Paul, a member of the Administrators and Janitors user account groups, has access to the Administrator workspace and Janitor workspace.

Users gain access to the workspaces linked to their user account groups
If a user account or user account group is assigned to more than one workspace, WorkStation asks you to select a default workspace at the first log on. The next time you log on to Building Operation on the same computer, your default workspace is automatically displayed. Once logged in, you can change your default workspace settings.
Predefined Workspaces
Some workspace layouts are included in the Building Operation main installation and cannot be deleted or edited. Those workspaces are located in the local domain of the SmartStruxure server.
For more information, see Predefined Workspaces .
Workspace Components and Customization
A workspace consists of panes, windows, and a work area that can be customized to suit a user's specific needs. Dialog boxes are presented on top of the workspace.
For more information, see Workspace Components and Customization .
WebStation in Kiosk Mode
You can configure to run WebStation in Internet Explorer in kiosk mode if you want to limit the users’ access to toolbar and shortcuts in Internet Explorer.
For more information, see WebStation in Kiosk Mode .
In WorkStation, on the Tools menu, click Control Panel .
On the Control Panel toolbar, select the SmartStruxure server.
action_zoom_plus_stroke 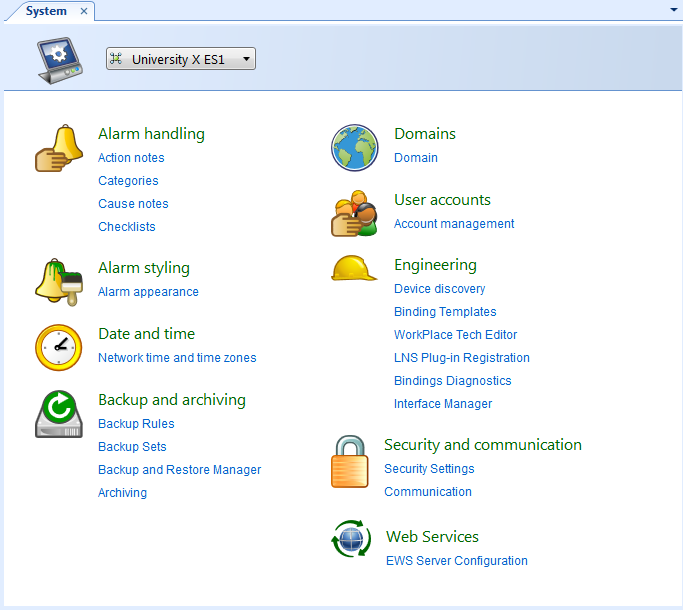
Click Account management .
In the Domain box, select the domain the workspace belongs to.
action_zoom_plus_stroke 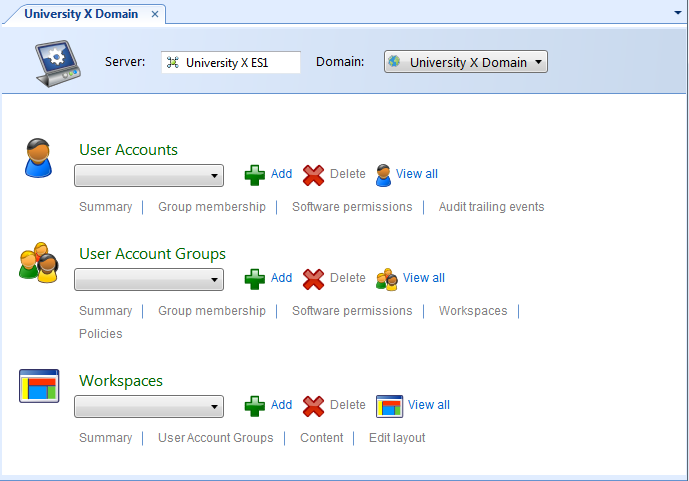
In the Workspaces list, select the workspace.
Click Content .
Click Add .
action_zoom_plus_stroke 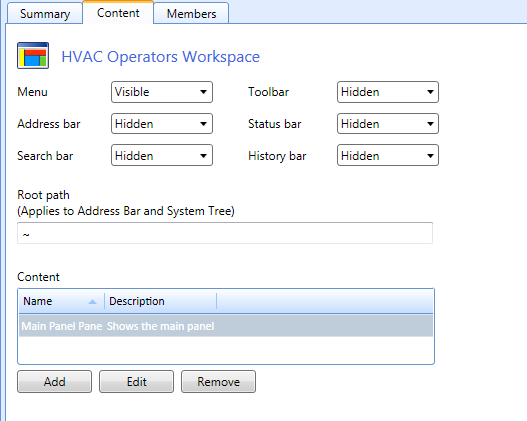
Select the type of component you want to add to the workspace.
action_zoom_plus_stroke 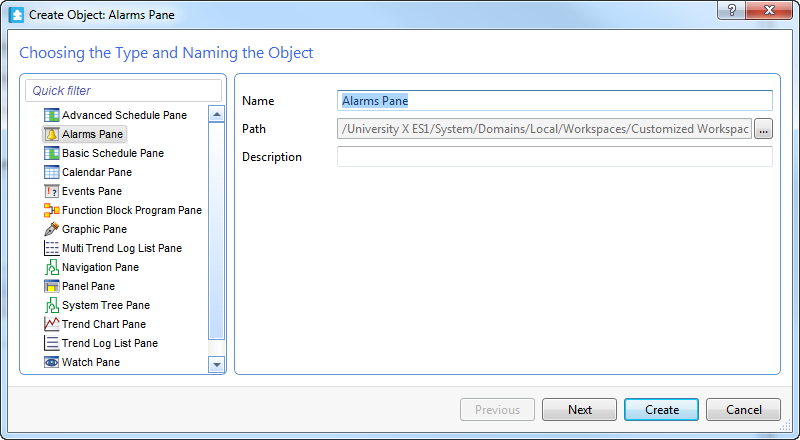
In the Name box, type a name for the component.
In the Location box, change the location of the component you are adding if you do not want to save the component at the default location.
In the Description box, type a description for the component.
Click Next .
In the Default dock position box, select the dock position of the component.
action_zoom_plus_stroke 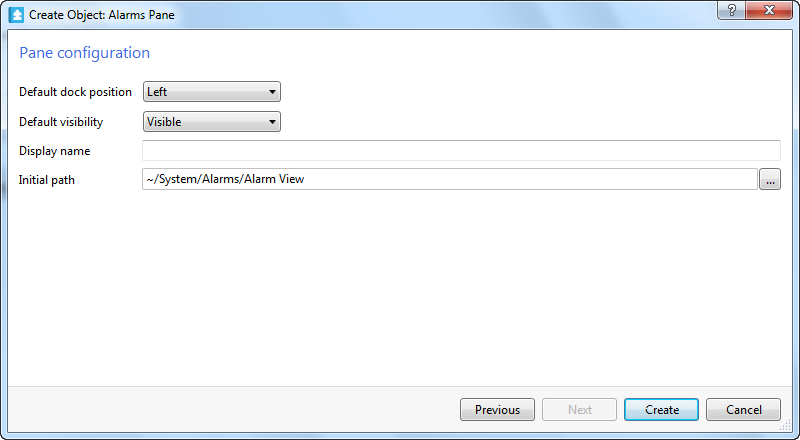
In the Default visibility box, select Visible to display the graphic in the workspace.
In the Display name box, type the name to be displayed on the pane.
In the Initial path box, select the System Tree location of the component to add to the workspace.
Click Create .
Creating a Workspace
 Create Object Wizard – Naming the Object Page
 Workspace Management
Workspace Content References
Workspace Wizard – Pane Configuration Page
Workspace Wizard – Pane Configuration Page
Workspace Management
Workspace Content References
Workspace Wizard – Pane Configuration Page
Workspace Wizard – Pane Configuration Page