
How to
Creating a Panel
You create panels to customize framing in a workspace. For example, panels can display particular graphics or menus that are visible as frames in the WorkStation Work area.
You use a panel to combine different viewable windows, for example, a graphic, trend chart, report, or another panel into a seamless view. A panel consists of one or several panes and one work area. The panel is available through the System Tree pane and opens as a window in the work area of the current workspace.

Example of panel components
In the procedure when creating a panel, you link existing objects to the panes or workspace that is added within the panel. Therefore, you have to first create the object, for example a trend chart, before you add or rather link in the object into the panel. You can define whether to show or hide a pane's toolbar.
A panel cannot contain a System Tree pane.
A maximum of six levels of panels are allowed in a single pane. However, the recommendation for a good user experience is to only use three levels.
In a graphic or in the content of a pane or work area, you can create links that point to a panel. By using panels, you streamline the information you want to present to the user. For example, you have a graphic that represents a room. In the room illustration, you add a fan symbol to which you link a panel containing panes and a work area that displays the current room airflow and temperature.
You can use a navigation pane to build a customized structure for navigation. The navigation pane can be used in a panel. For more information, see Customized Navigation .
In WorkStation, in the System Tree pane, select in the folder where you want to create the panel.
On the File menu, click New , and then Panel .
In the Name box, type a name for the panel.
action_zoom_plus_stroke 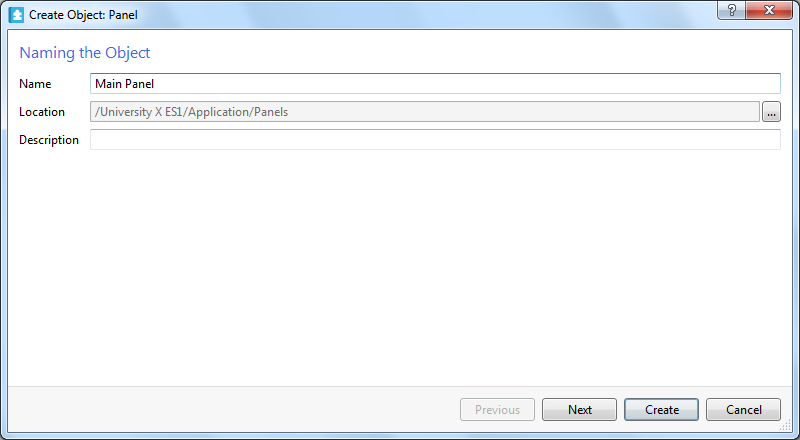
In the Description box, type a description for the panel.
Click Next .
Click the Add button
to add an object to the panel. you add an object to the panel.action_zoom_plus_stroke 
action_zoom_plus_stroke 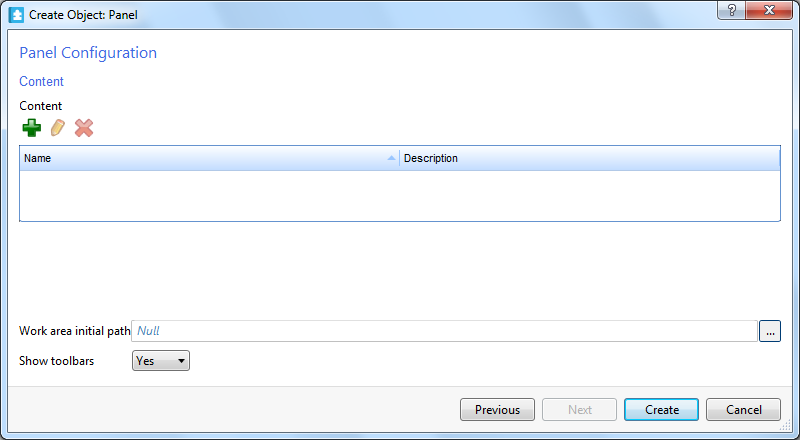
In the object type list, select the type of panel component you want to add.
action_zoom_plus_stroke 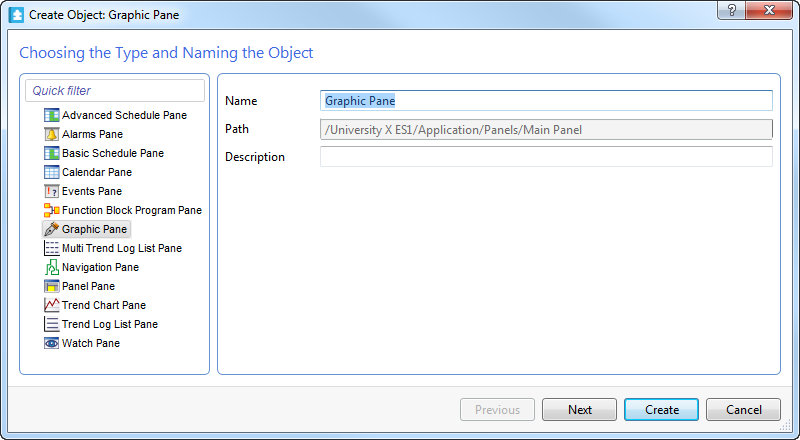
In the Name box, type a name for the component.
In the Description box, type a description for the panel component.
Click Next .
In the Show toolbar box, select Yes to show the toolbar of the component.
action_zoom_plus_stroke 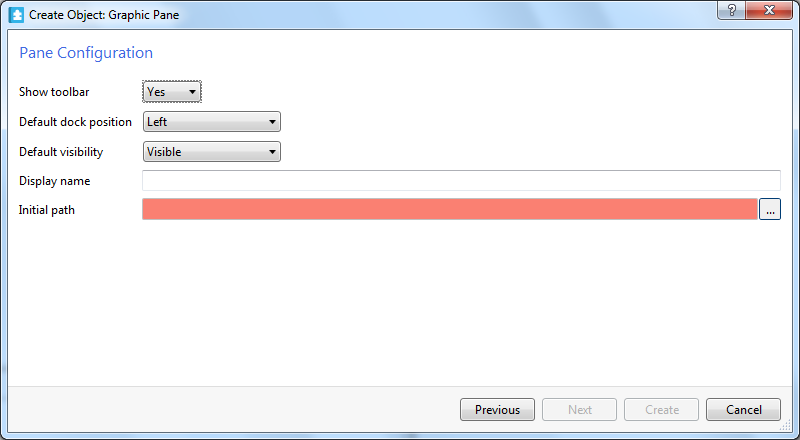
In the Default dock position box, select where the component should be located.
In the Default visibility box, select Visible to show the component in the panel by default.
In the Display name box, type the name to be displayed on the pane.
In the Initial path box, enter the path to the object you are adding to the panel.
action_zoom_plus_stroke 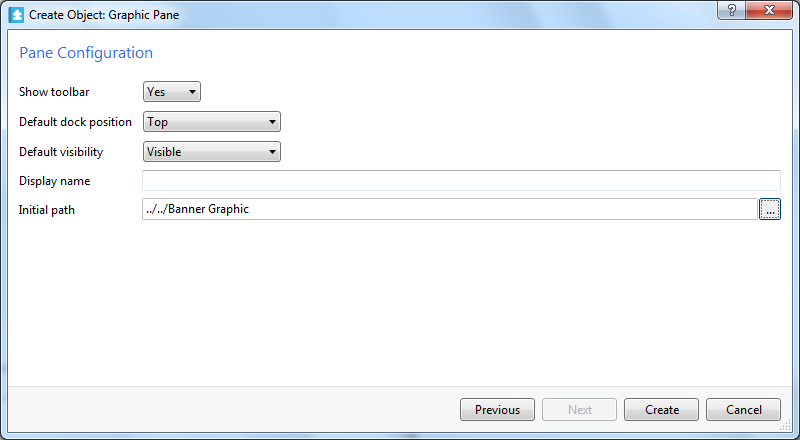
Click Create .
In the Work area initial path box, enter the initial object that displays when viewing this panel.
In the Show toolbars box, select Yes to display the toolbar for the object listed in the initial path.
action_zoom_plus_stroke 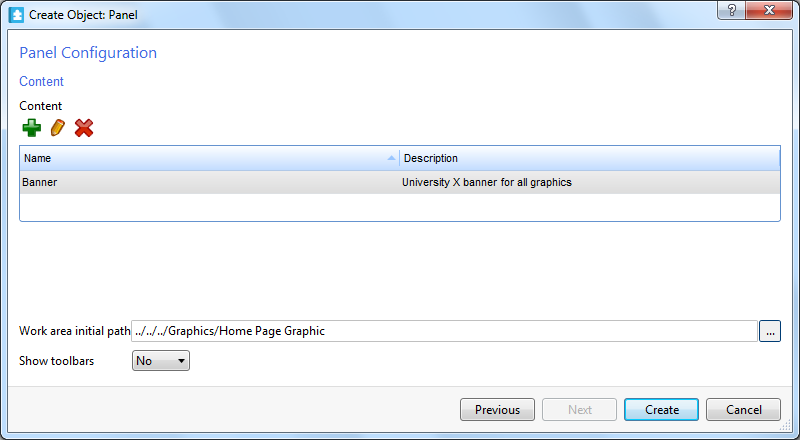
Click Create .
 Panel Components
 Create Object Wizard – Naming the Object Page
Editing a Panel
Create Object Wizard – Naming the Object Page
Editing a Panel