
How to
Adding an Image to a Report
You add an image to a report when you want the image to display in a report created in Report Builder. You deploy the report and then use the Images page in WebReports to complete this procedure.
WebReports provides an image library where you can upload and preview images to be used in your reports. You can also delete images from the image library.
When you upload an image, you need to select where you want to position the image on the report. You can position an image on the upper left side of your reports and on the upper right side of your reports. For more information, see Uploading an Image .
You can upload images with the following file types:
.bmp
.gif
.jpeg and .jpg
.png
The maximum size of an image file is 512 KB.
In order to maximize the quality of the images in your reports, use images with a pixel width and height of 168 (width) x 72 (height).
Images in Reports Created in Report Builder
You can add images to any reports that you create using MS Report Builder. You can add an image file to the reports database in the same way that you add images for normal reports. However, the image will not be visible in the report (nor in WebReports) unless you insert an image frame in your report and reference the database image file by way of a dataset in your report.
A dataset contains the data that you want to use in your report. The data is accessible in textual or tabular form, or as a stored procedure. Datasets can contain any type of data, including image-related data. The data is extracted by way of queries, and having created a query, you select a dataset field through the image frame that you draw in your report.
For example, you can create a dataset in your report and then type a query statement, such as:
(SELECT imagedata FROM tbreportimages WHERE ImageName='SchneiderBlack' and ImageType='Category3')
where 'SchneiderBlack' is the name of an image you have previously uploaded into the reports database, and 'Category3' is one of the category selections you make when uploading the image. You then select the dataset field when creating your image frame. For more information, see Adding an Image to a Report .
As another example, you can add left and right hand images to your reports by first selecting the spRDLClientInfo stored procedure dataset, and then selecting the FactoryDefault and ProductDefault dataset fields when drawing your left and right image frames.

Factory and Product Default dataset fields relating to report images
This will produce the same left and right images that you selected in the WebReports Manage Images section for normal reports.

Left and right report image selection
This procedure is intended for adding images to reports created using Report Builder only. For more information, see Report Images .
In WebReports, on the menu bar, click Images .
In the Image file box, enter the name of the image file you want to upload.
action_zoom_plus_stroke 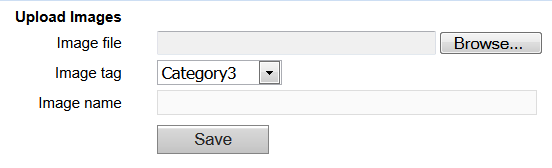
In the Image tag box, select a tag to be used in the database to identify the image.
In the Image name box, type a name for the image.
Click Save .
In MS Report Builder, open your report.
In the Design view, in the Report Data pane, point to New and then click Dataset .
action_zoom_plus_stroke 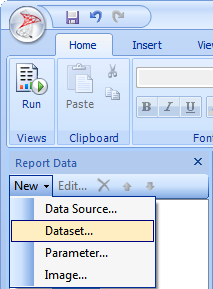
In the Name box, type a name for the dataset.
action_zoom_plus_stroke 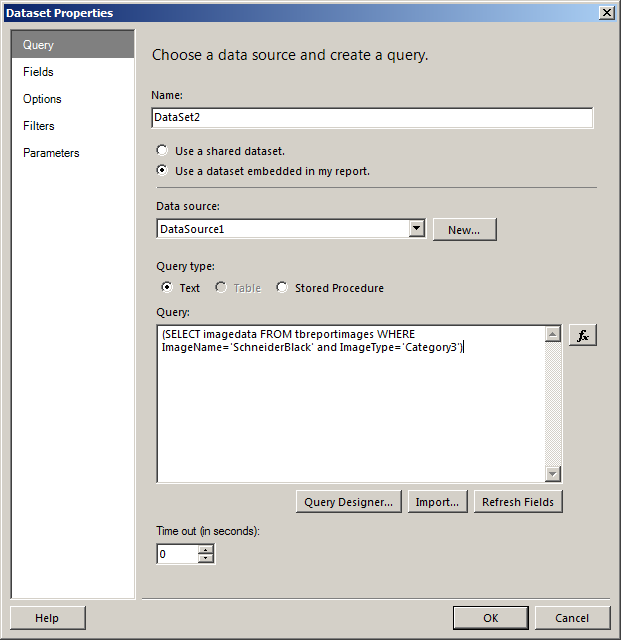
In the Dataset Properties dialog box, click the Use a dataset embedded in my report option.
In the Data source box, select a previously created data source.
In the Query box, type a SELECT statement to reference the image you uploaded in WebReports. The SELECT statement must include the image name and image tag that you used when you uploaded the image in WebReports. For more information, see Report Images .
Click OK .
In the report editor, click the Insert tab and then click the Image button.
Using the mouse, draw the image box on the report.
In the Image Properties dialog box, select Database as the image source.
action_zoom_plus_stroke 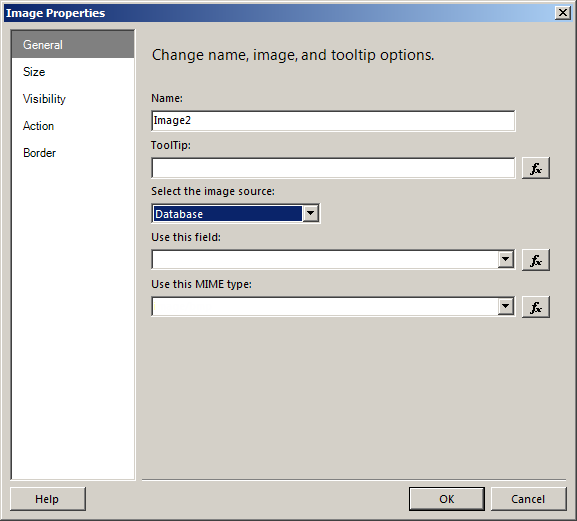
In the Use this field box, select the imagedata field in your previously created dataset.
action_zoom_plus_stroke 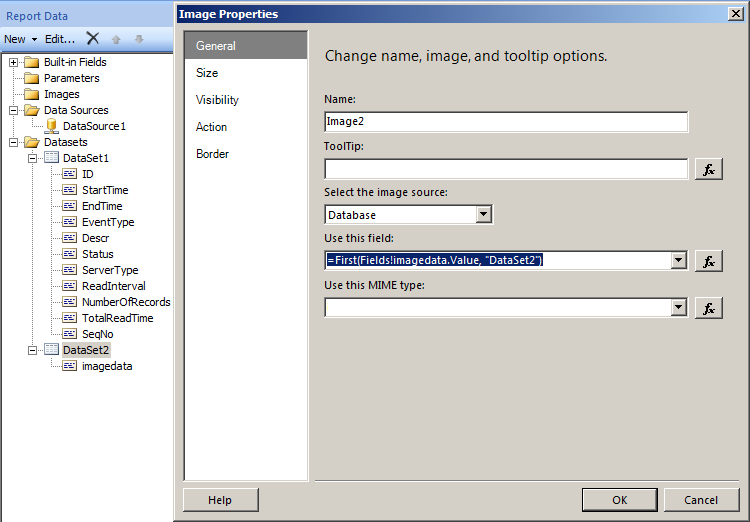
In the Use this MIME type box, select the image type of your saved image.
Click OK .
On the Main menu, click Save .
action_zoom_plus_stroke 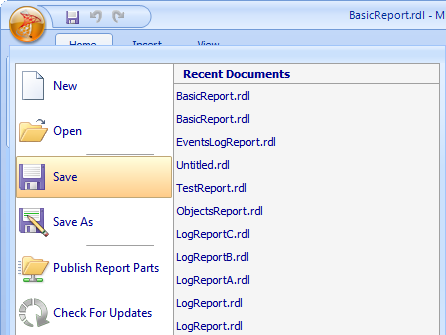
Click Run and check that the image displays in your report.
action_zoom_plus_stroke 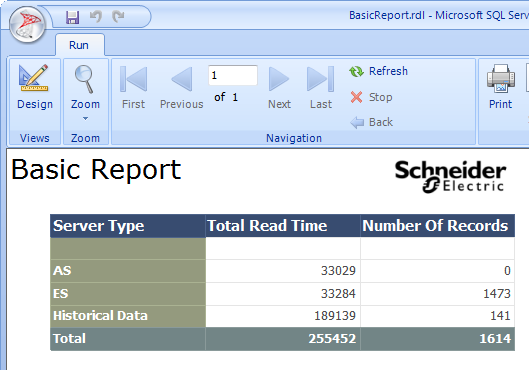
Now, deploy the saved report to the reports server.
 Report Images
Deploying a New Report to the Reports Server
Synchronizing WebReports with a New Report
Report Images
Deploying a New Report to the Reports Server
Synchronizing WebReports with a New Report